Reform and Renovation of the Ironing Table
- Lisa M Hascall-Kanazawa

- Feb 2, 2022
- 7 min read
Updated: Sep 23, 2022
I am a person who loves to DIY, not only for the enjoyment of creating something original and new, but also to refresh and keep the things I own in working condition. When my old ironing board was no longer serviceable, even after repairs, I searched for a new option that fit me better ergonomically and provided more practical use. In early 2021, I settled on this ironing board table (not affiliated, no longer available for purchase), which includes storage drawers and a rolling unit for about 8000 yen. After a year of making over 400 original handmade goods as well as local repairs, the board had completely separated from the table unit, which could cause the iron to fall on my feet during use. In 2022, I finally took the time to figure out the best strategy for repairing this table.

Tozaki Industries Standing Ironing Board
Step 1: Assess the Repair
Upon inspection of the table, I remembered the process of constructing it with four long Phillips head screws. Over the course of the year, three out of the four screws had worked themselves out of the wood, either falling into the drawer below the table or to some unknown corner of my old apartment or current office. The method of attachment was not secure as you were required to screw them upside-down through the bottom hole into the wood plank of the table, and the holes drilled into the metal bars were not straight or aligned, which caused the table to shift during use, and eventually work the screws out from the wood. However, the wood plank was only about 1cm in thickness, and the foam on the top was about 3 cm thick. Based on this assessment, I would need some sort of screw that had a matching nut that could be tightened from the bottom. I headed to my local tool shop to buy a set based on the original sizing.
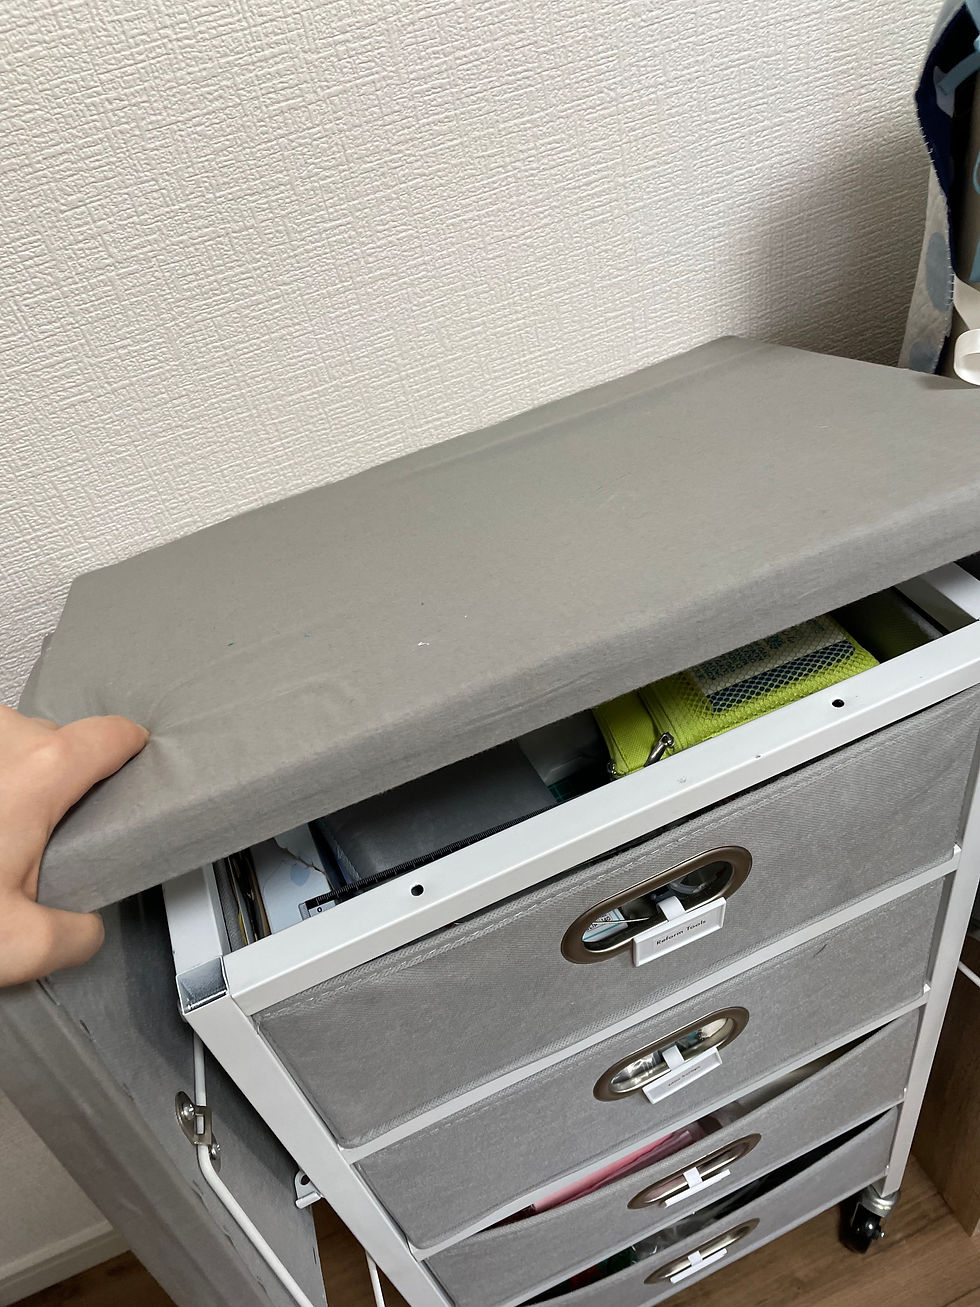
I also decided upon further inspection of the construction of the table that I would replace the fabric covering and backing as well as the screws.
Step 2: Gather the Materials
Here are the materials I gathered for this repair and renovation.
100% cotton fabric in grey dot, pre-washed, 2mx1.1m (only used about half of this fabric, but bought extra in case)
Stainless Small Pan Head Screw set in 5x40mm (Komeri)
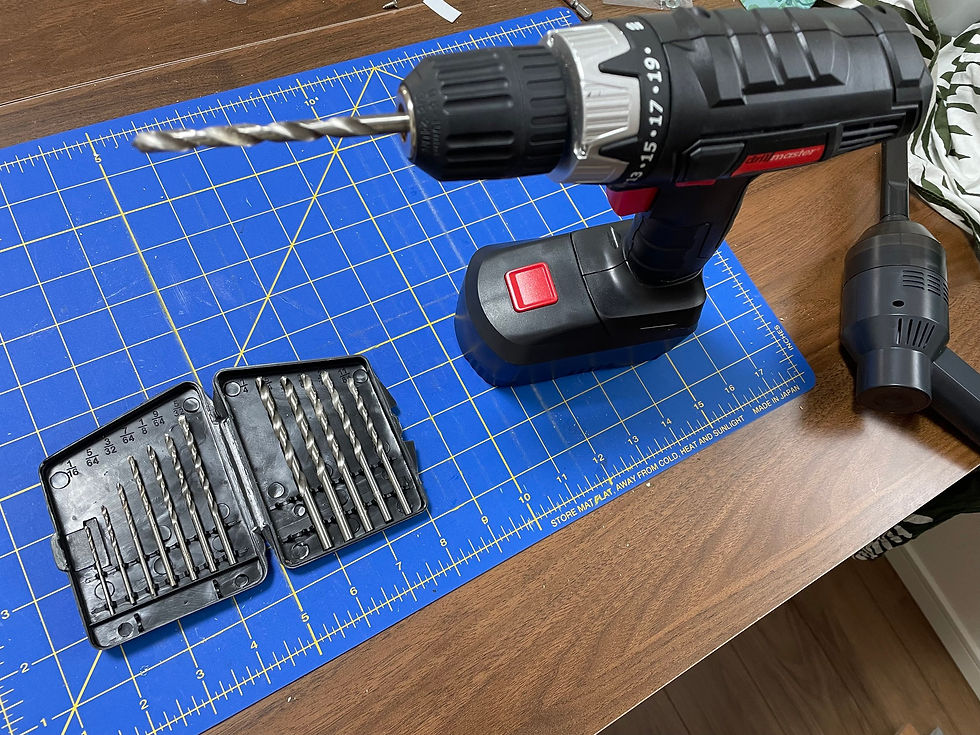
Electric Screwdriver (present from my father in the US)
Screwdriver Bits (US sizes, part of screwdriver set)
Small pieces of wood (same height) for use below the wood during the creation of pilot holes
Heavy Duty Stapler and Staples (on hand, originally purchased from Daiso)
Heavy Duty Staple Remover (Amazon)
Non-woven fabric (Seria)
Washable Felt (on hand, originally from Seria)
Mini Hand Vacuum (Amazon)
An awl (on hand, originally from Daiso)
I also bought some screws to create a larger pilot hole for the pan head screws, but I ended up not using them.
Step 3: Separating the Pieces
This was the most time-consuming part of the process. The table had two layers of heavy duty staples that required removal, and each part had around 20-30 of these staples. Some of them were so stuck into the wood that I couldn’t remove them fully, leaving small metal shards of staple in certain areas. Yikes! Not ideal, but in most cases, I was able to fold them down. The process of removing staples took about three days, partially because my first method of removal (normal staple remover), was not very effective, thus prompting my purchase of a tool specifically for this project. It won’t be a waste, however, as I use my heavy duty stapler for various projects and may need this tool in the future.

Once the staples and fabrics were removed, I could easily separate the board, foam, and various screws and hinges to see the bare bones of this project.

This interestingly-shaped tool, a heavy-duty staple remover, allowed me to remove most of the staples.
Step 4: The Main Repair
Now, it was time to begin the main repair of the unit by adding the new screws. Upon discussing this project with my father, he mentioned that it might be good to create a recessed hole large enough for the top of the screw to rest flush against the board so it wouldn’t cause ripples. I used the bits, starting from the smaller sizes, to widen the existing holes from the original screws, slowly opening up to the size of the new pot screws to fall through with a little bit of wiggle room. However, as this wood plank is particle board, I couldn’t easily create a recessed area without a lot of chipping, which made the vacuum an essential part of this operation.
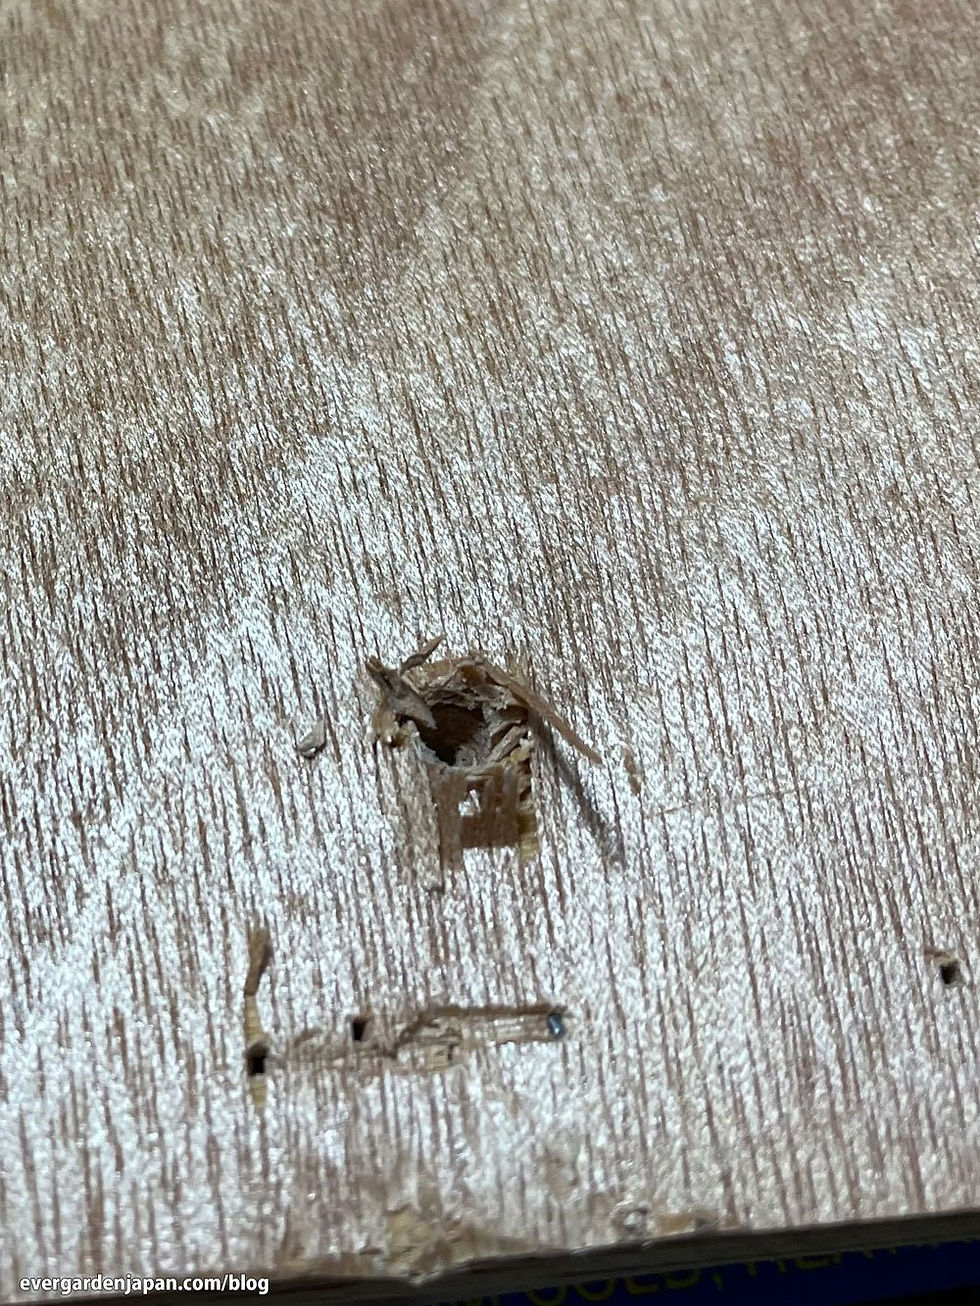
The board was highly prone to chipping.

This tiny vacuum was essential to this project. Between the dust and wood chips, I emptied the vacuum twice.
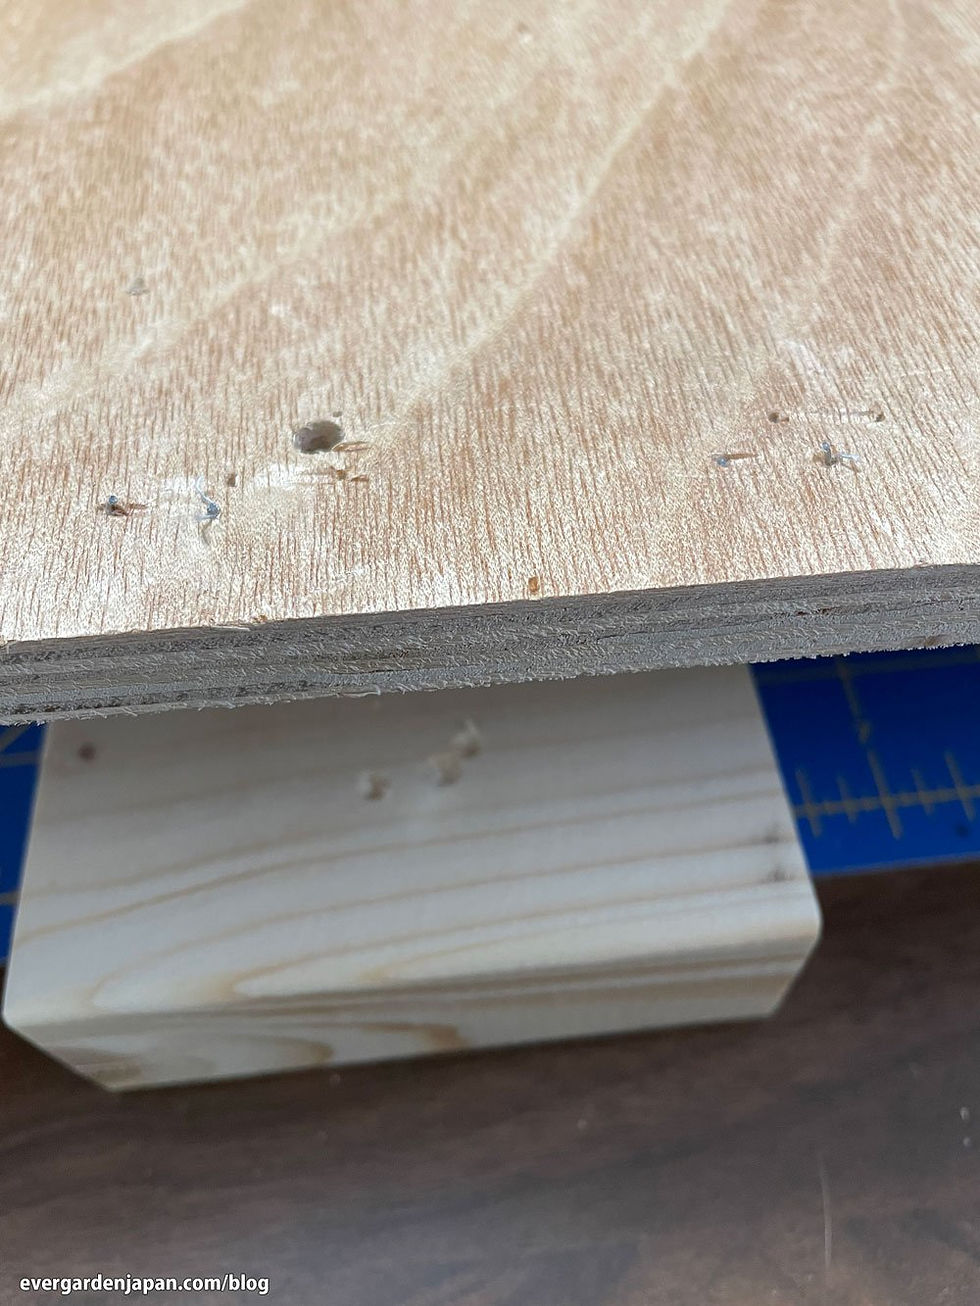
New clean pilot holes! Also, safety goggles are highly recommended due to chipping.
Finally, we had pilot holes that aligned with the original entry points! Honestly, I was pretty pleased with myself at this point, especially since the extra thick foam helped to pad the screws and prevent the aforementioned rippling effect.

Just in case, I added a layer of felt, as an extra precautionary measure, between the board and foam.
Step 5: Wrapping it Up
This is where things got a bit tricky. Originally, I thought I might have been able to get away with keeping the old casing on the table and creating a uniform cover for the whole piece, but as you can see in the previous steps, the old fabric was destroyed, and each piece requires its own casing since the table folds down with hinges on both left and right sides. I cut the fabric with about 2-3cm to spare on each side based on the original fabric pieces for a bit of leeway, then hand-stitched around the entire piece of table for each part.
Why did I hand-stitch when I could have stapled? Two reasons - first, for my sanity and arms/wrists in case I need to do this again (the original had WAY too many staples), and second, due to the remaining embedded staples, some areas could not be stapled over again, and I needed to be able to set staples on the non-woven backing to keep the fabric from sliding. Each piece got the same treatment, first adding the hand-sewn casing, followed by cutting a backing piece that fit over the middle, about 1cm smaller than the total board size so that it wouldn’t stick out on the sides.
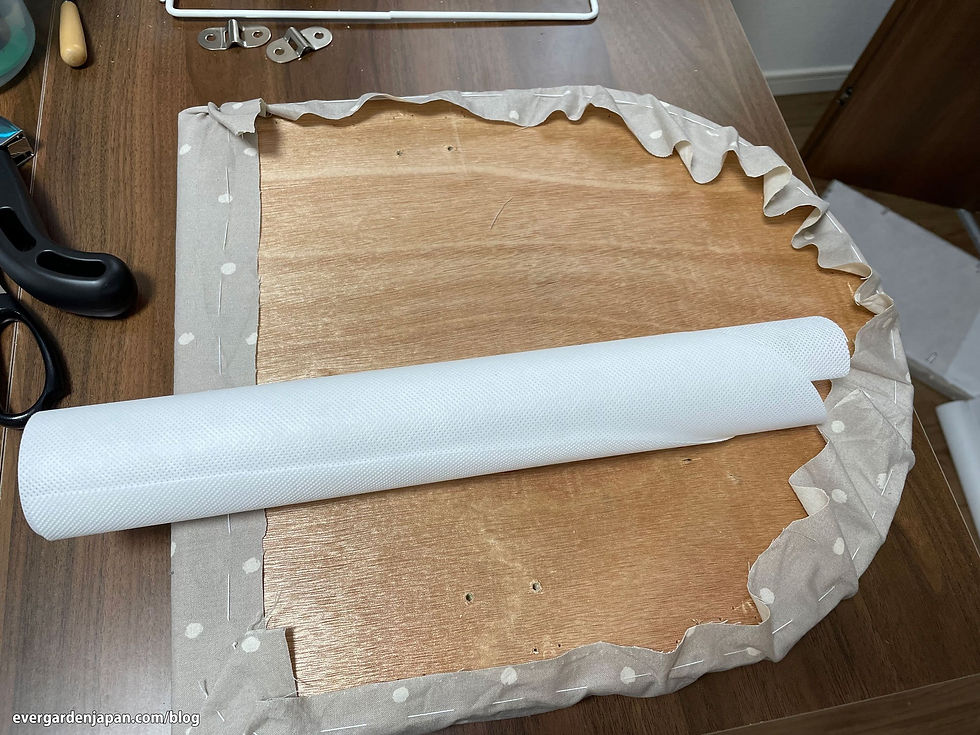
The rounded board was the most difficult piece, as it required a lot of gathering to fit snugly over the top.
Also, I had to be careful during this process to make sure that I could see where the screws and hinges were attached, as the placement was final once the backing had been stapled on. For this process, I used my awl to mark out and create the holes for the screws, and then reattached each part to the boards, eventually fully reattaching the board in entirety.
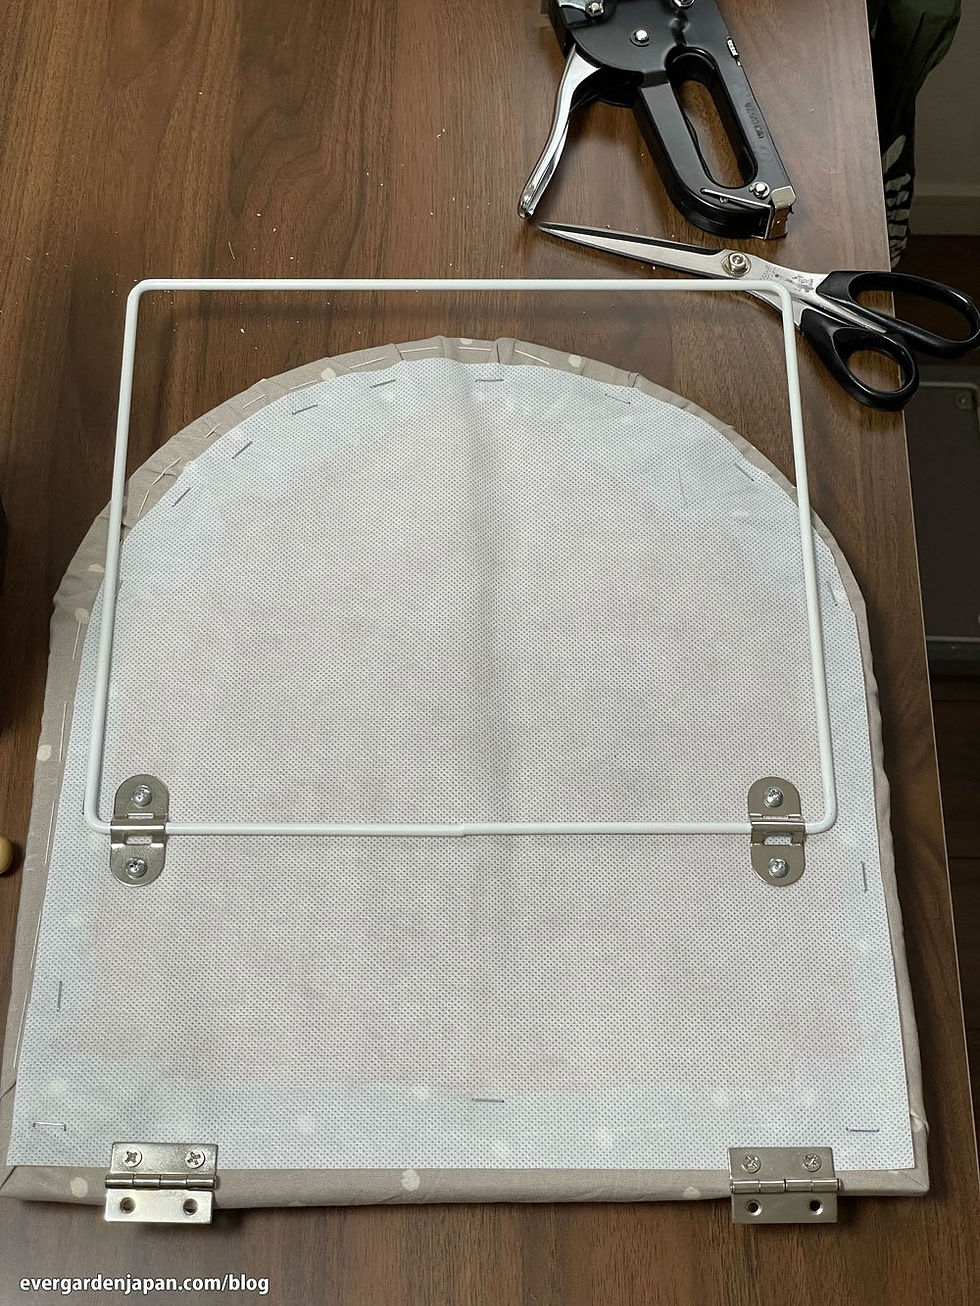
Step 6: Final Re-Assembly
Once the board was assembled, I could re-attach it to the original rolling table. Removing the drawers, I began this process by setting it on top, carefully aligning the screws to fit into the holes in the metal bars. This proved especially difficult for three reasons:
I had to add the screws inside the completed wrapped board, so I had to press down with my fingers through the foam to align the screws.
The holes in the bar are not straight, and the screws got caught halfway, requiring finagling with the awl to get them to fall completely through the bottom hole.
Due to reason #1, I couldn’t tighten the screws from the top, so I had to do my best to screw in the bottom nut pieces from the bottom.
Despite these hurdles, the final assembly was a success! The table is now firmly attached to the rolling unit, and the fabric is refreshed with a new finish. I am pleased with the results and learned plenty of new skills and tricks from this project that I hope to use in future problem-solving situations. Speaking of which, there were, and still are, a couple of points that could use some further repair…
Things to Improve
During re-assembly of the right side table, one of the screws in the top hinge connecting to the main table broke off inside the wood panel, leaving only one screw holding the hinge together. At this time, the hinge seems to be holding just fine, but I will eventually need to repair this, and doing the repair without completely removing the whole table from the unit may not be possible.
Due to the original wonky design of the pilot holes, the table has never been fully flat. I have attempted to fix this by making new holes and re-affixing the pieces that hold the metal square bar on the folding sides so that they will sit correctly, but I ended up having to do this again upon the final re-assembly, using a blanket to hold up the side at the correct height, and screwing in the pieces upside-down. I probably should have paid more attention to check this before completely re-assembling the table.
The hand-sewing of the fabric piece may not sit straight over time. It may require occasional maintenance to re-tighten the fabric by adding extra stitching or staples.

EEEK. The screw head broke clear off…
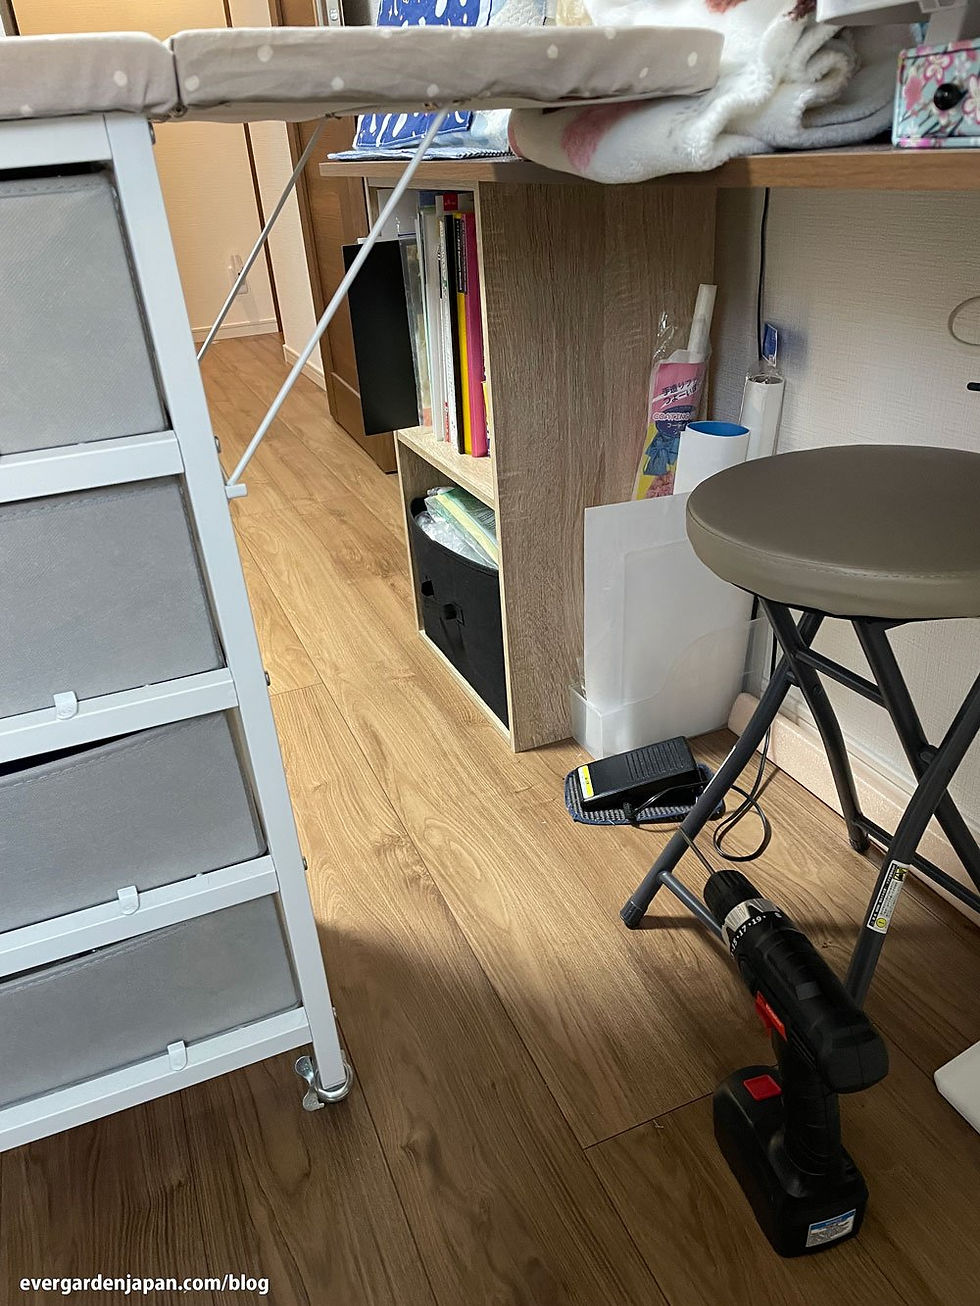
Blanket hack worked pretty well, but using the screwdriver upside down was difficult. Wouldn’t recommend this method.
Conclusion
Have you ever attempted a renovation of your favorite furniture item? Was it worth it, financially or time-wise, in your case? Based on what I’ve learned In Japan, DIY tends to be looked at as an expensive hobby, since buying the pieces to repair items can end up costing more than the original or a similar item due to the pricing of limited parts and materials available locally. However, as an American raised in a family filled with self-reliant makers, I find great pride in maintaining and customizing my home and office.
If you are interested in my reform services, please check out my pricing list (in English and Japanese) for local repairs, or send me a message for a quote on custom orders using the form below. Thank you for your interest!


Comentários